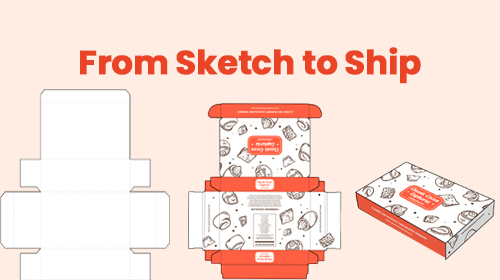
From Sketch to Ship: What Actually Happens When You Order a Custom Printed Box
Introduction – Why Knowing the Full Journey of a Printed Box Matters
You’ve got the artwork. You’ve got the product. And now you are ready to bring it all together in a custom printed box. But what really happens after you upload your design and hit “approve”?
A lot more than most people realize.
Behind every custom printed box is a carefully engineered workflow. Design prep, prepress checks, board selection, printing, cutting, quality review, and logistics. And if your packaging needs to scale with your brand, understanding these steps can save you real time and real money.
Reverbico recently pointed out that custom printed boxes are no longer just for aesthetics. They are now essential for operational efficiency, brand control, and customer perception at scale.
So if you are launching 250 custom mailer boxes or planning a national rollout with custom shipping boxes, this guide will walk you through what actually happens behind the scenes. Step by step. Start to finish.
How a Box Design Goes from Idea to Dieline
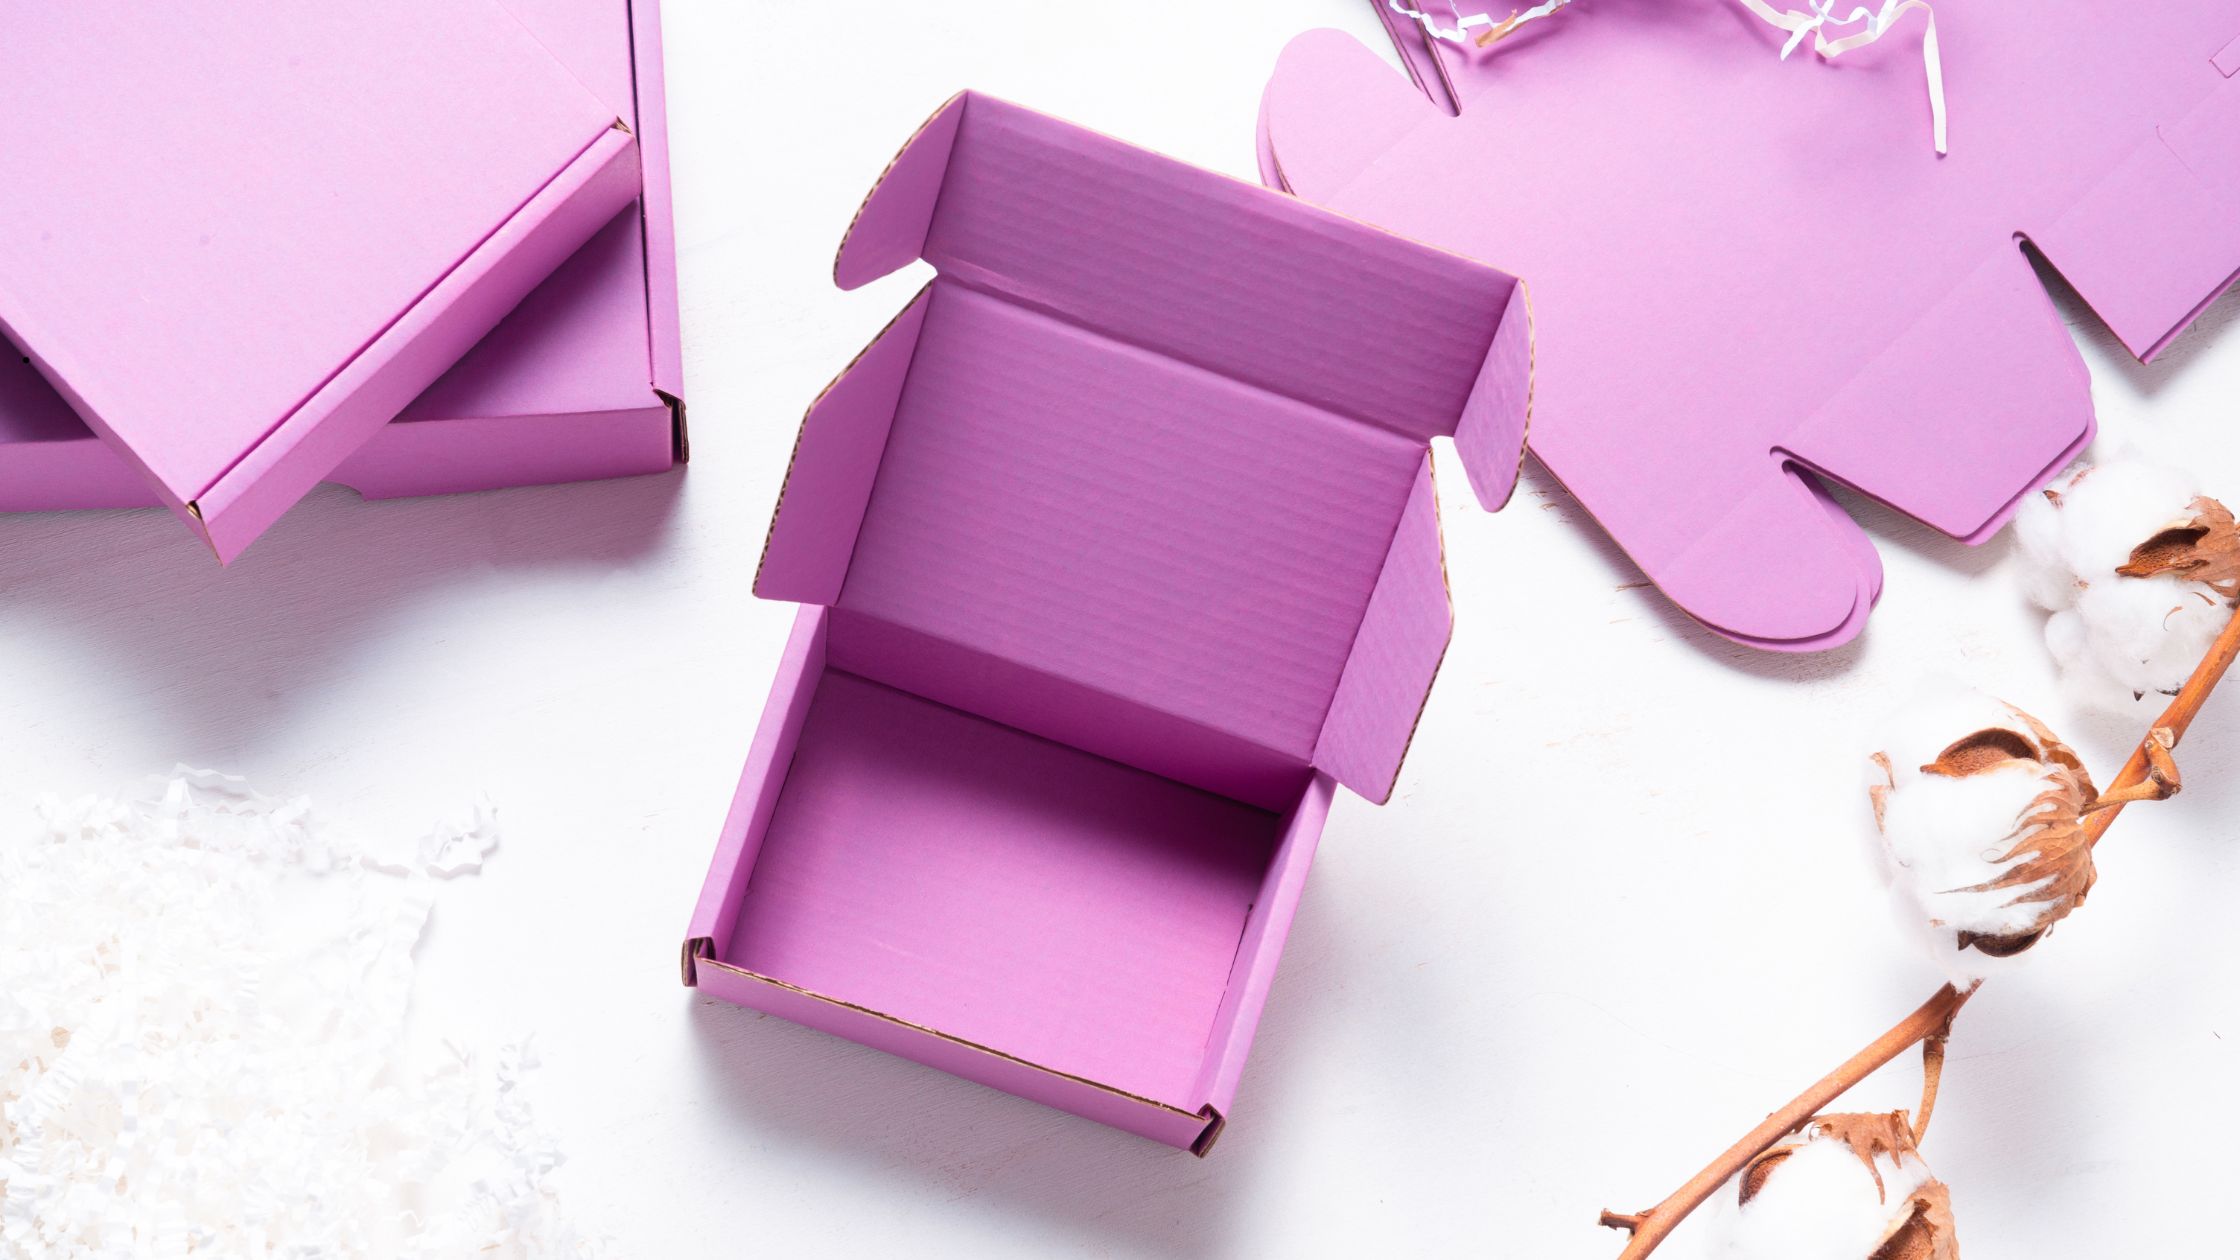
Every printed box starts with a dieline. Think of it as the technical blueprint of your packaging. It is a flat layout that includes folds, cuts, flaps, glue areas, and bleed zones. Not just a template; it is what connects your design to physical reality.
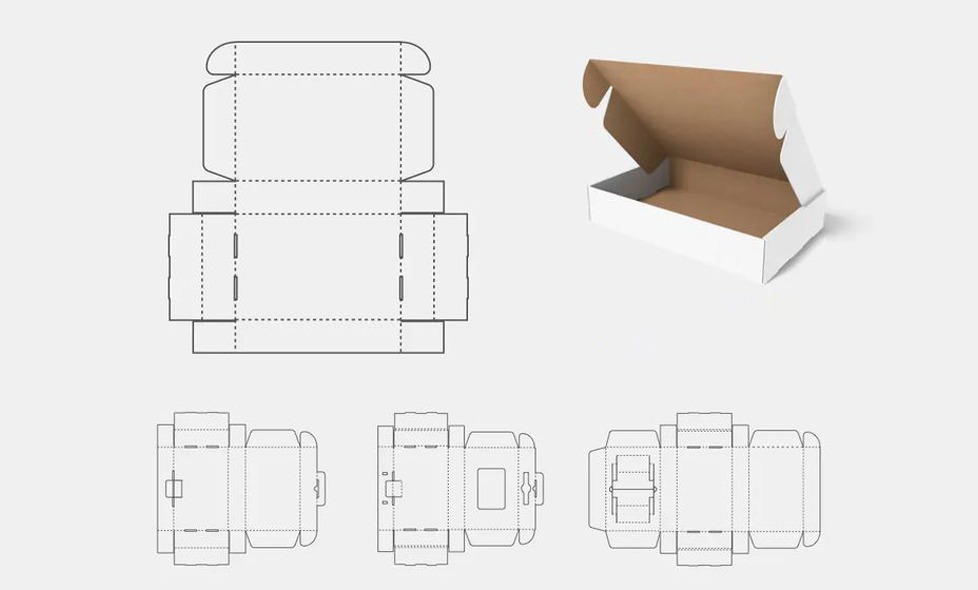
Once you choose your box style. Be it a custom mailer box, a custom printed shipping box, or anything in between, the dieline process begins. Most manufacturers either send you a pre-existing dieline depending on standard dimensions, or build a new one using CAD tools if you are requesting custom box sizes.
Your artwork is placed directly onto the dieline using design tools like Illustrator. At this point, alignment matters. Print elements need to line up with panels, barcodes must be scannable, and any coatings or white ink layers (especially on kraft or dark stock) are mapped out clearly.
This stage also includes preflight checks to make sure the file meets production standards, including resolution, color mode (CMYK), margins, and file format.
A solid dieline does not just ensure your design prints correctly. It helps reduce material waste, avoids production errors, and speeds up the entire custom printed packaging box process.
What Happens After You Hit “Approve” on the Proof
Once your dieline is approved, the real work begins. Here is how your custom printed boxes take shape inside a modern packaging plant:
1. Sheet Selection & Corrugation
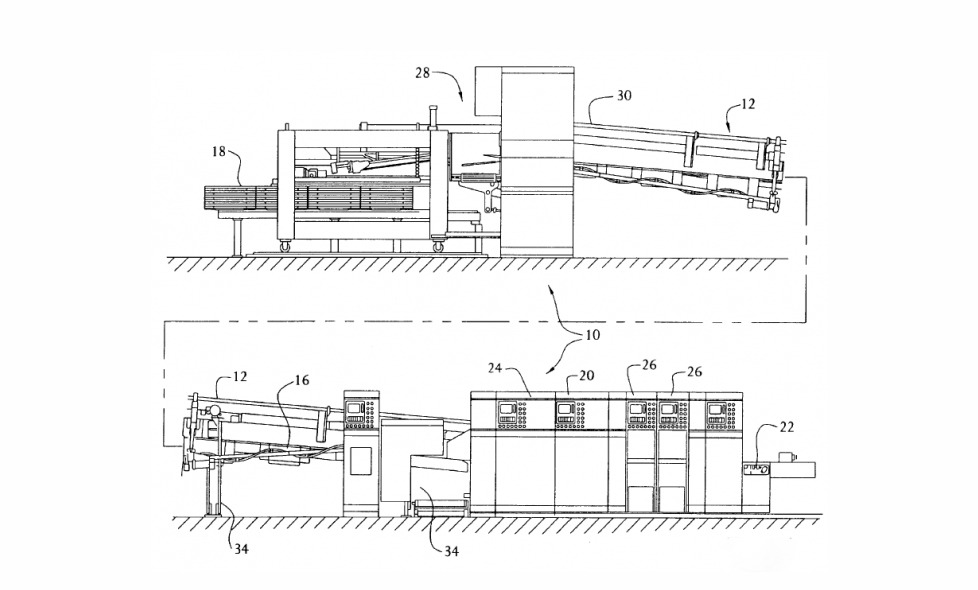
Everything starts with massive rolls of kraft liner and fluting material. These are fed into a corrugator, which is a machine that bonds the fluted inner layer to flat liners using heat, steam, and pressure. You get to choose your board strength, finish, and flute size depending on your shipping or presentation needs.
2. Cutting, Slotting & Scoring
Sheets are then cut into the exact shape of your box using die-cutting machines or rotary slotters. For die-cut boxes, a custom steel rule die stamps the outline precisely. Scoring lines are also added for folds, this is where your dieline comes to life.
And if you are curious about the science behind how die-cutting works, this blog explains it in more depth.
3. Printing
Your approved artwork is printed directly on the board. Most plants now use flexographic or digital presses. For custom printed mailer boxes, digital allows short runs without sacrificing quality. Pantone matching, color layering, and ink density are all dialed in at this stage.
4. Folding, Gluing & Final Assembly
The printed, cut, and scored sheets go through folder-gluer lines, where they are automatically folded into box form and glued as needed. Boxes are then flattened and stacked, ready for shipping.
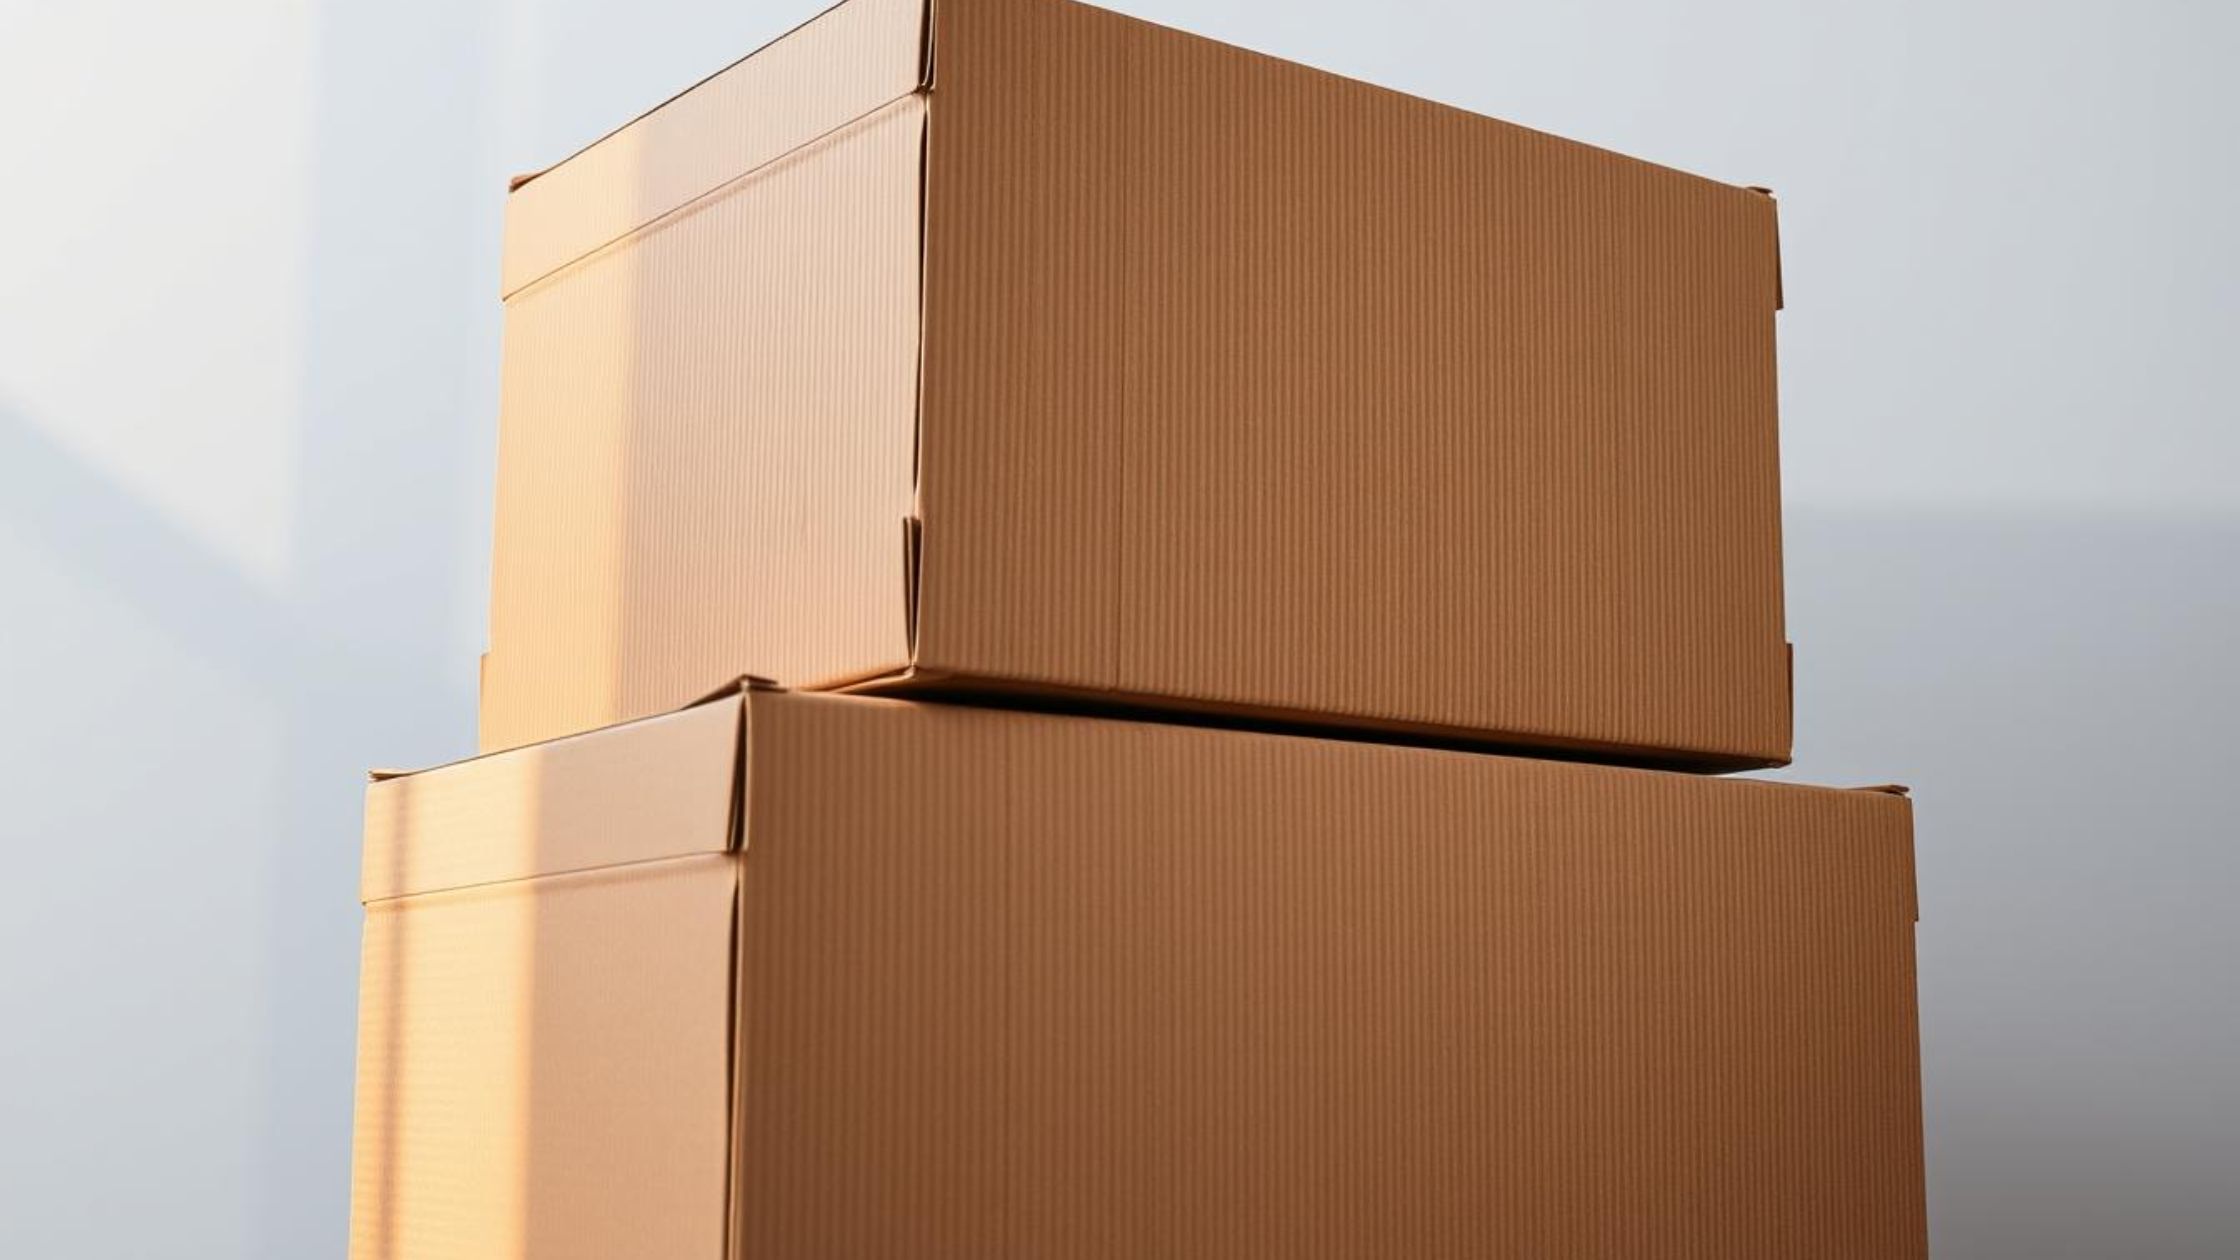
This process blends heavy-duty machinery with craftsmanship. For high-quality custom printed boxes in the US, these steps are typically completed in 3–5 business days, depending on quantity and complexity.
Board Types and What They Mean for Your Box
The material your box is made of is just as important as the design printed on it. Whether you are ordering custom mailer boxes, custom printed shipping boxes, or retail packaging, your choice of corrugated board determines how your product travels, stores, and presents itself.
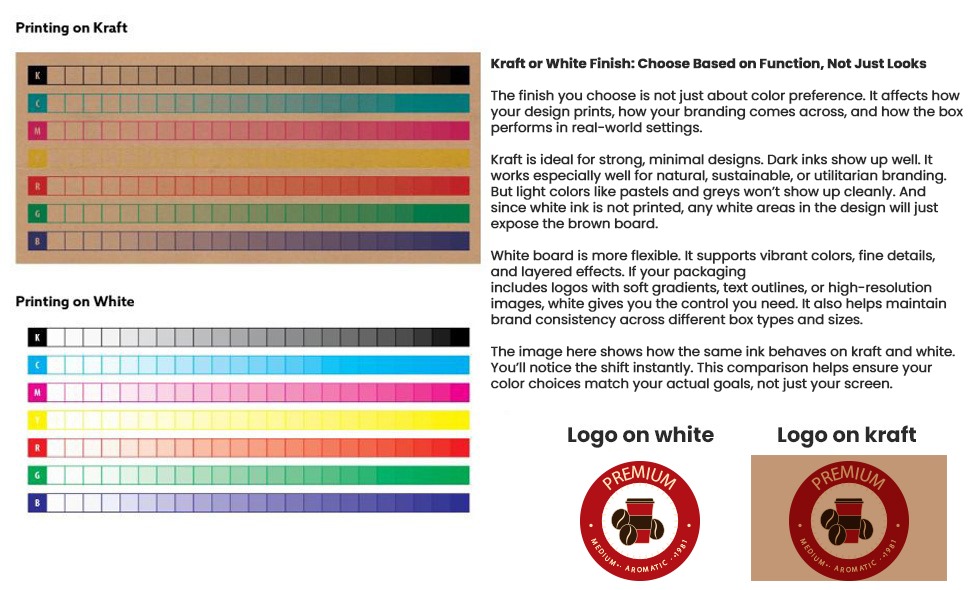
Kraft vs White: What You Need to Know
- Kraft (Brown Board): Made from unbleached, recycled paper. Strong, eco-conscious, and cost-efficient. Works best for darker print colors and a more natural, organic look.
- White Board: Clean, premium finish that makes colors pop. Great for high-impact branding and detailed graphics. Offers the same structural strength with added aesthetic appeal.
Single Wall vs Double Wall
- Single Wall: One layer of fluting between two liners. Lightweight, affordable, and ideal for most custom packaging boxes used in eCommerce or light retail.
- Double Wall: Two layers of fluting. Offers enhanced durability and protection. Common for custom shipping boxes used in B2B and bulk logistics.
Flute Profiles: A, B, C, E, and F
Each flute profile serves a specific purpose:
| Flute Type | Thickness | Best For |
| A-Flute | 5mm | Cushioning, fragile goods |
| B-Flute | 3.2mm | Strength and stacking |
| C-Flute | 4mm | Versatile, general-purpose |
| E-Flute | 1.6mm | Print quality, retail display |
| F-Flute | <1mm | Premium, lightweight applications |
For custom printed corrugated boxes, E and B flutes are often the sweet spot, offering print precision without compromising on strength.
Assembly, Inspection, and Packing for Delivery
Now is the time to enter the final prep stage before leaving the production floor. This step focuses on accuracy, consistency, and transit readiness; three elements that separate average suppliers from truly reliable ones.
After printing and die-cutting, your custom printed boxes are carefully assembled or flat-packed, depending on the order type. Mailer boxes with locking tabs are tested for fold accuracy. On the other hand, shipping boxes are stacked, measured, and checked for crease alignment and durability. If your packaging includes custom inserts or multi-component kits, they are matched here with precision.
Next comes quality inspection. Each batch undergoes checks for color consistency, print sharpness, and structural integrity. This ensures that what lands at your facility looks exactly like what you signed off on. Most converters use batch sampling for efficiency, while high-value runs might include 100% inspection.
Finally, boxes are packed for delivery. Bundled in protective wraps, stacked on pallets, and labeled for transit. Some partners offer branded pallet covers or smart tracking codes to integrate seamlessly with your inventory system.
When to Expect Delivery and What Happens Next
Once your boxes leave the production floor, timelines depend on your location, order size, and shipping method. For custom printed boxes in the US, average lead times range from 8 to 14 business days from design approval to doorstep delivery. It can sometimes be faster with local production or express services.
During this phase, transparency really matters. Reputable print partners provide real-time updates, including tracking information, estimated delivery windows, and support if timelines shift due to freight variables.
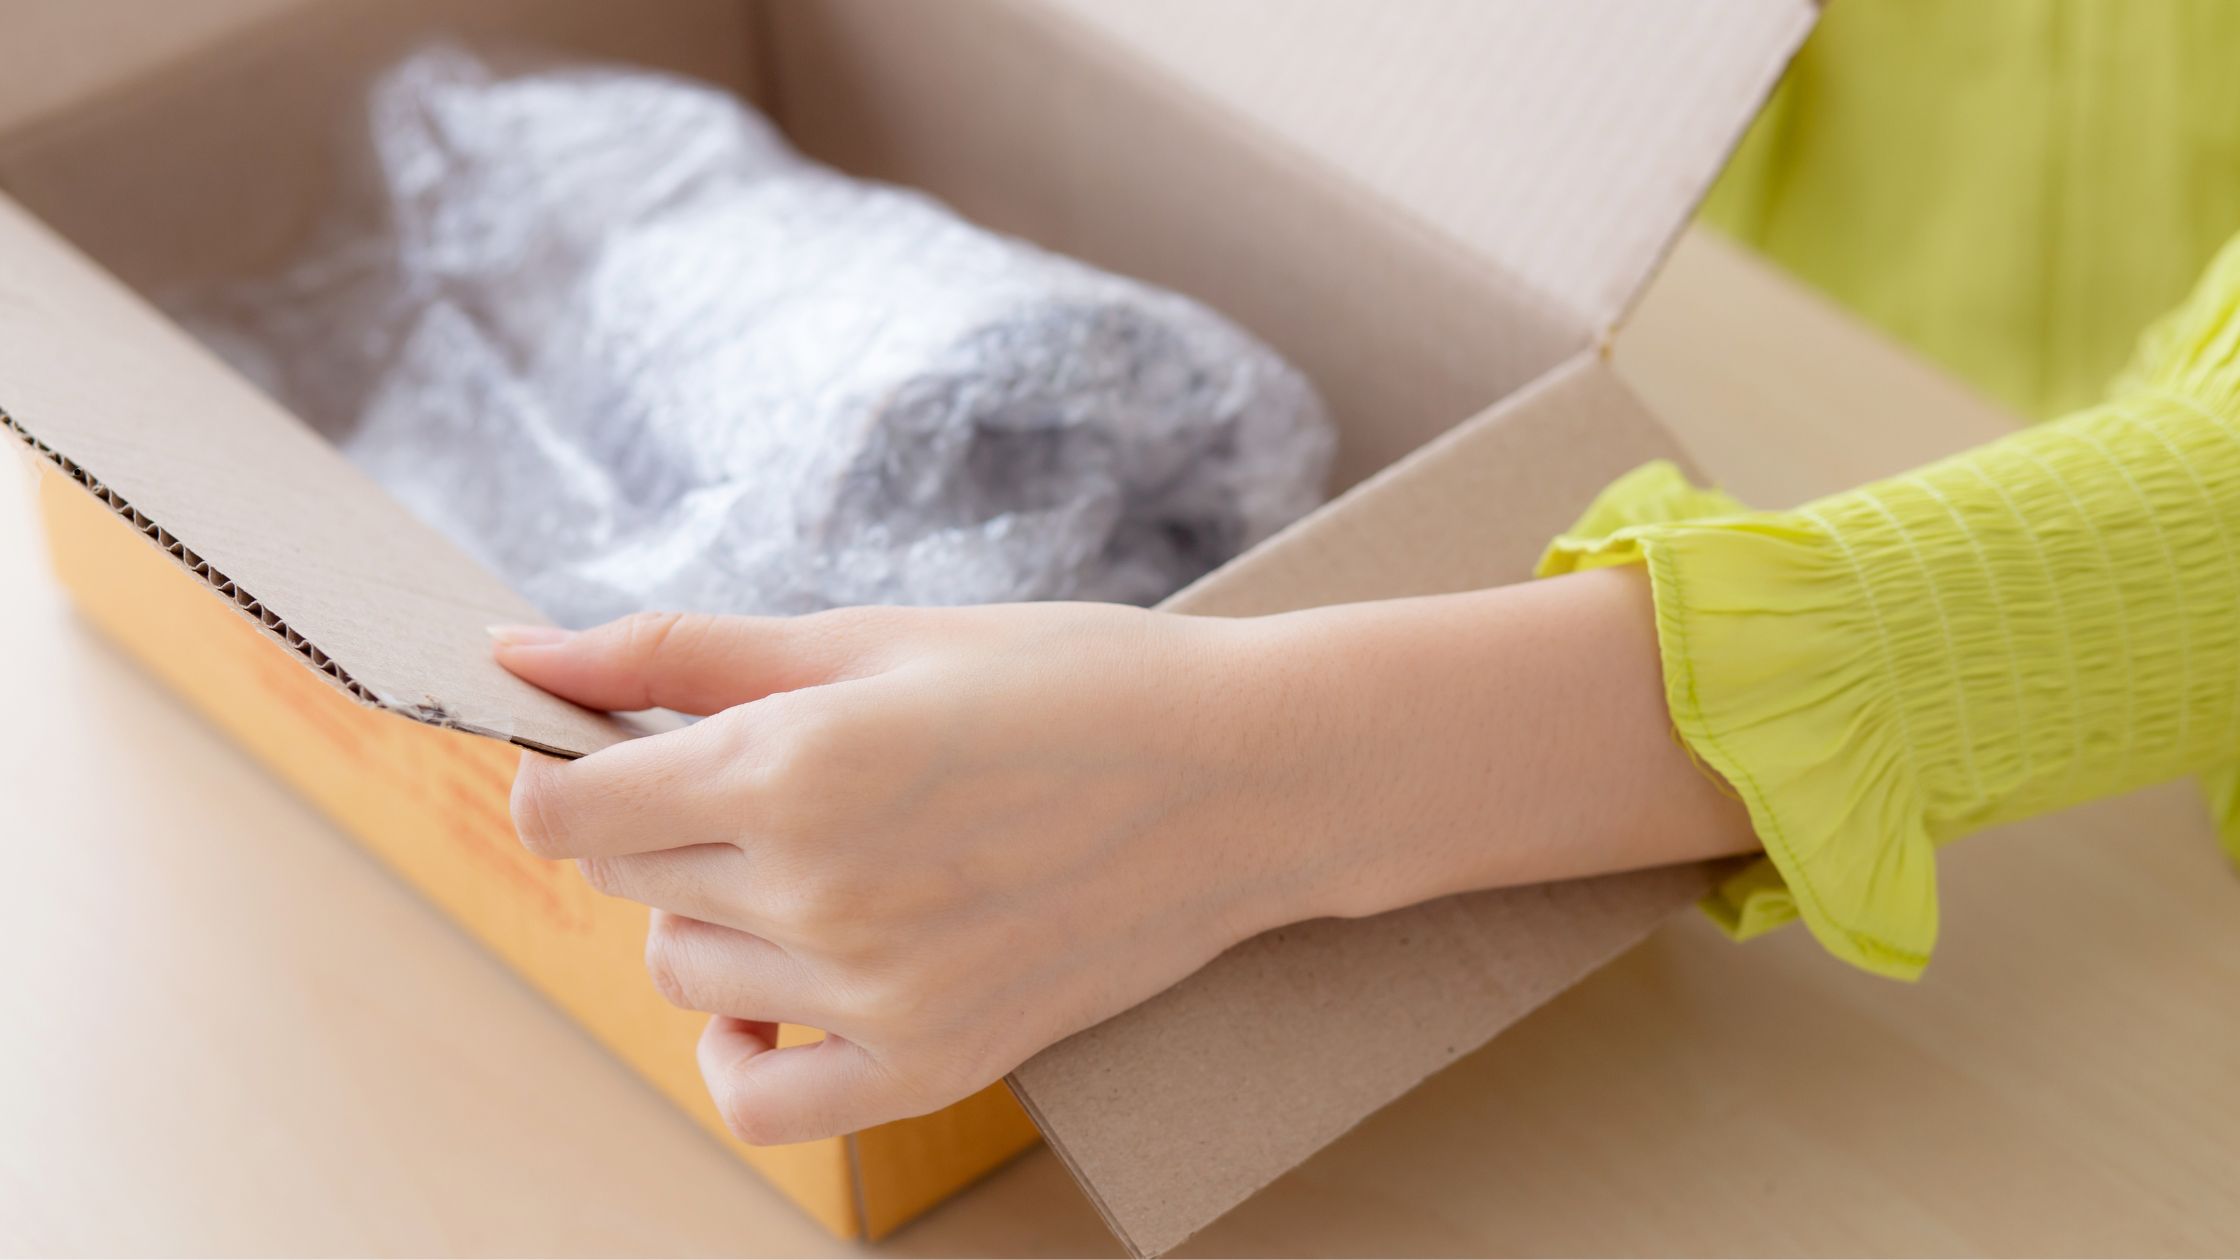
Once your boxes arrive, inspection on your end is crucial. Most businesses check one or two bundles to confirm print, fit, and board quality before moving inventory into active use. If you have ordered samples earlier in the process, this step is more of a confirmation than a discovery.

Many businesses also use this moment to document packaging for product listings or marketing campaigns. A well-printed box is not just a vessel, it is a brand asset that enhances every unboxing moment.
Additional Tip: Optimize for Fulfillment Speed, Not Just Design
Here is an additional tip. Before sending your box to production, do one final test most businesses skip: time your fulfillment process using a mockup.
- How long does it take to assemble?
- How quickly can your team pack it with your actual product and inserts?
- Does it require tape, tabs, or tools?
- Can the box be opened and resealed without damage?
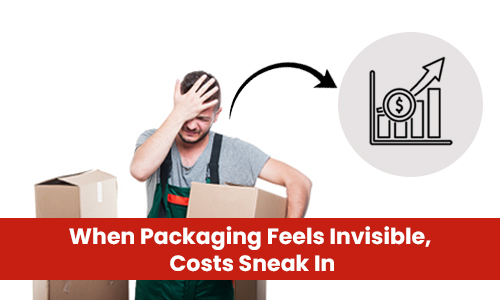
A design that looks great on screen might add 10–15 seconds per order in real time. Multiplied across thousands of shipments, that’s hours of lost efficiency each week.
Even in small operations, the most successful packaging programs treat the box like a part of the supply chain, not just branding. Fast to fold, easy to fill, seamless to seal, this is where operational wins are made.
If your box adds friction at the packing table, it is time to tweak it now, not after the first 500 units arrive.
Recap: How the Right Print Partner Streamlines the Full Journey
From your first concept sketch to the final stacked pallet, every stage of the custom printed packaging process plays a role in efficiency, cost, and brand perception. And while tools like die-cutting, CAD prototyping, and digital proofs are powerful, what really matters is how your print partner orchestrates all of them.

A reliable packaging partner understands logistics, not just layout. They will help you choose the right board for your product weight, the best flute for your shipping profile, and a printing process that supports your design without overengineering.
Either you are ordering custom mailer boxes for a DTC drop or scaling custom printed shipping boxes for wholesale delivery, the right packaging partner makes it feel like an extension of your operations.
Looking to see how UCanPack approaches the full journey? Let’s talk. We’ll help you go from sketch to ship, smoothly.